
A Week at The Clearing, Forging a Knife 2017
Please read this for information about the Forge, then look at the 2018 page and 2019 Wood and Steel. (Sept.2019)
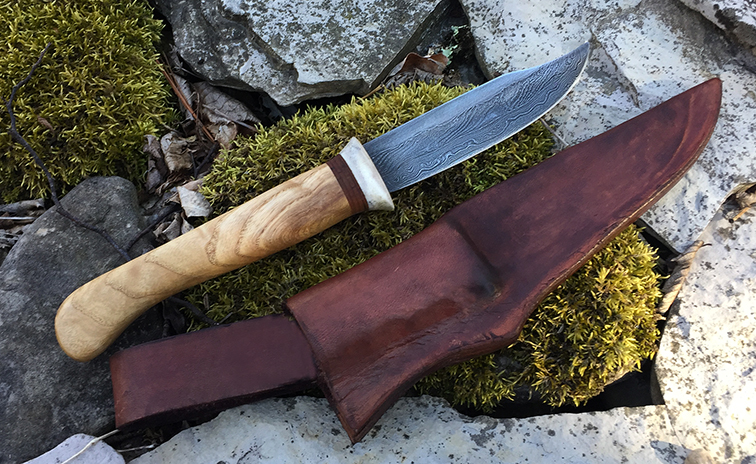
This is the Knife I made during the first class in The Forge at The Clearing in Ellison Bay WI. https://theclearing.org (wait for it to load)
 Paul leading the Forgers on their way to the Forge
Tools of the forge:
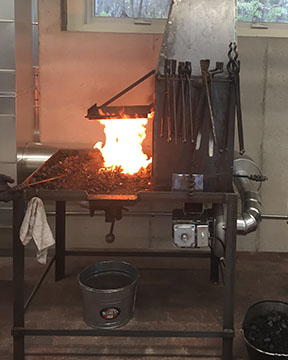
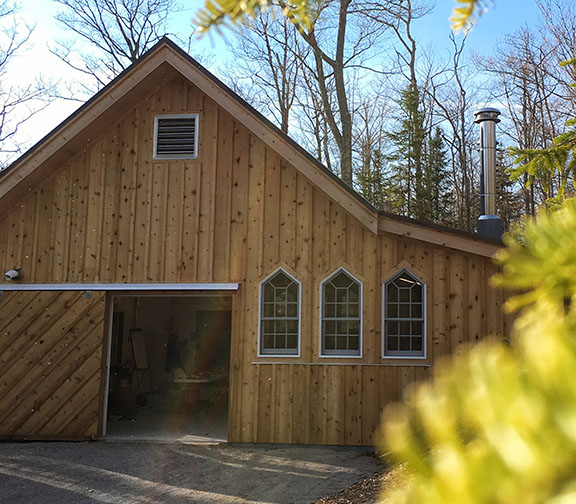
One of the four coal forges at The Clearing
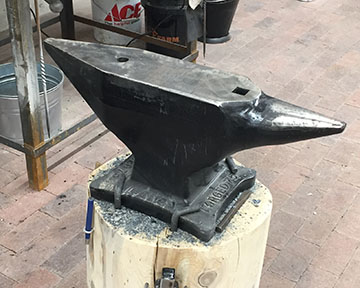
An Anvil for each Coal Forge
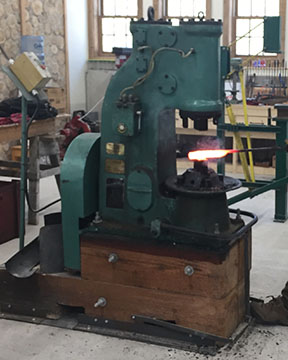
Power Hammer that shakes the ground
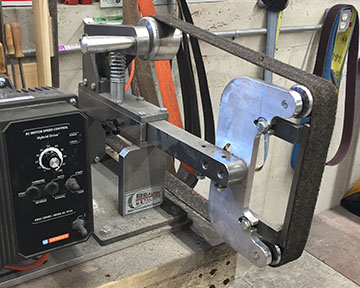
Belt Grinder
Our Instructor David DelaGardelle http://cedarloreforge.com/
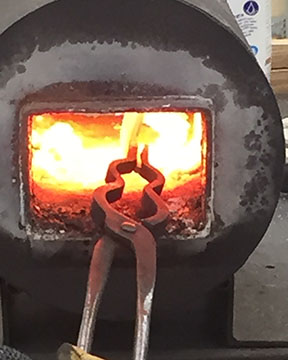
and his Propane Forge
Materials and The Making of My Knife
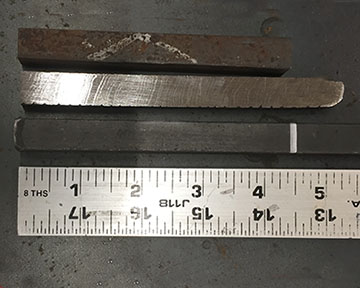
I started with 3 layers of steel. The first for the cutting edge was made from about 125 layers of steel welded together and then shaped into a square rod cut to 5” long. The second rod was about the same size with fewer layers that had been twisted before being squared off. The third layer was for the top edge and was made of a single layer of steel.
To join these bars into one piece of steel I had to forge weld them together by first cleaning and grinding the surfaces to be welded flat so that there would not be any air between the layers while in the forge. With the layers prepared they were clamped and tack welded together so that I could insert them into the forge as one piece.

Bringing these bars up to 1500 deg. F I covered each side with Borax to keep oxygen out of the area between the bars. When the bars were bright orange I removed and hammer them together to set the weld. The bars were then placed back into the forge for up to 20 min. During this time, the three bars became one bar of steel.
At the end of the forming of the single bar the steel was ready to be hammered out into the thickness needed for blade making. By using the power hammer, I was able to hammer the 5” of steel into about an 18” length which I cut to make 3 blades.
To have the pattern of the layered steel and twisted steel follow the shape of the cutting edge I cut away the plain steel near the point and then forged the cutting edge down to be even with the top of the blade. This was done by reheating the blade and hand hammering the tip down to match the top of the blade using a hammer and the anvil.
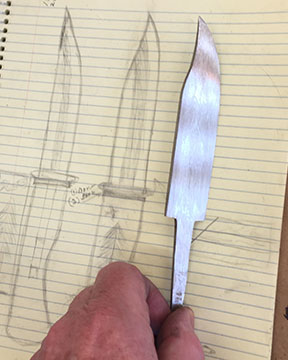
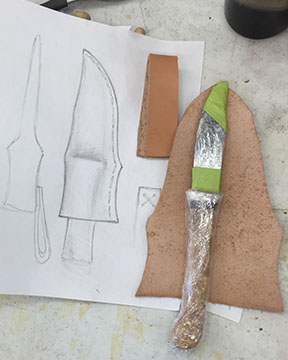
After laying out the design and grinding the shape of the blade I compared it to the plan made on Monday morning.
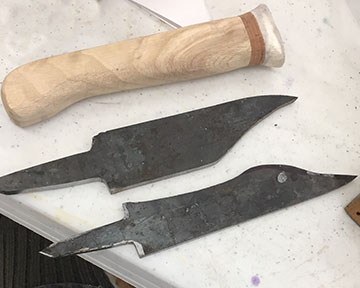
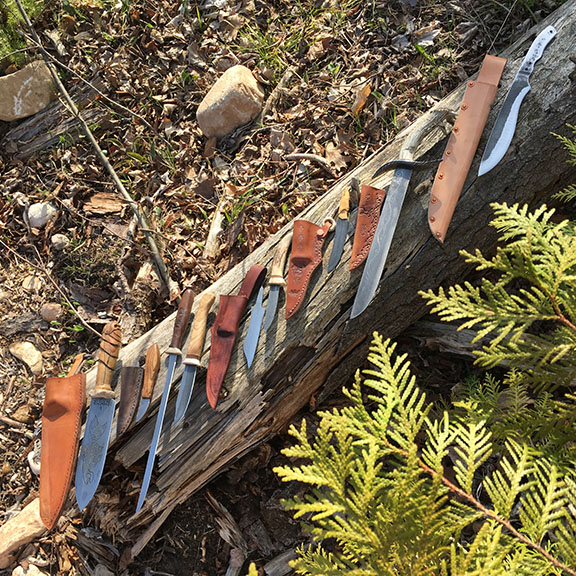
Here are the handle and the additional blades from the same steel.
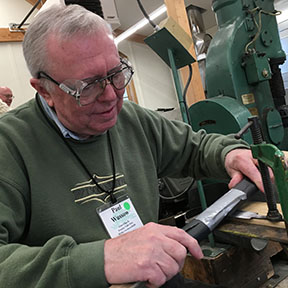
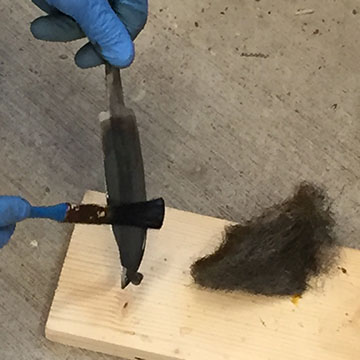
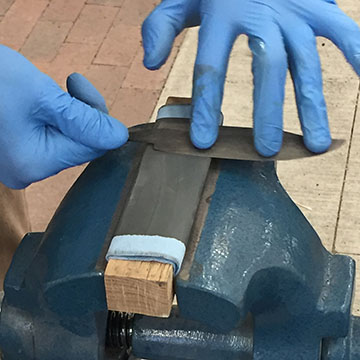
This is the hand polishing position where I polished the steel before etching and bluing.
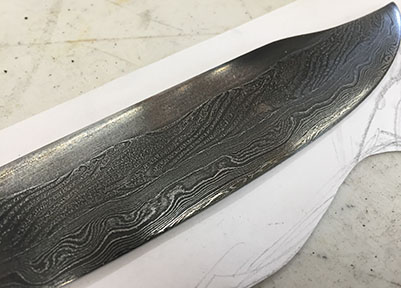
After the blade is cleaned and polished it is placed into an etchant to bring out the pattern of the layers of steel.
After etching the blade is coated with gun bluing. It is then polished with very fine grit sandpaper.
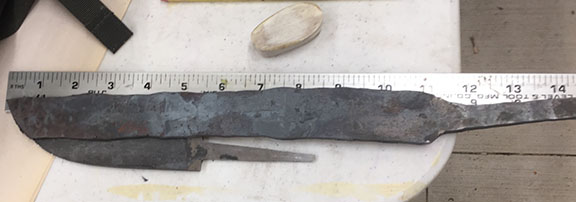
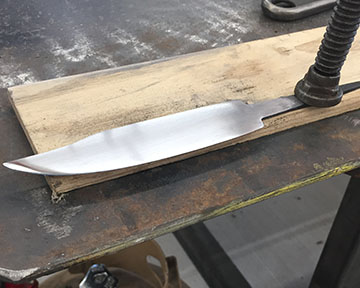
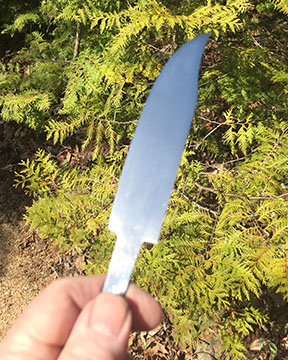
Here is the blade before sharping
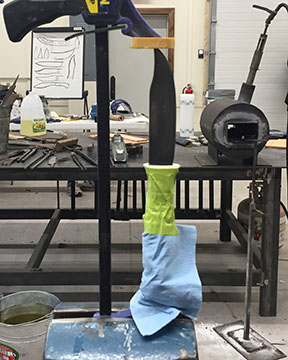
It was tempered in an oven at 450 deg. for 2.5 hours.
With the handle finished the blade is installed into the handle and clamped.
With the knife finished it was time to make the sheath or scabbard. This leather work brings me to the finished product.
Here are the works of the class.
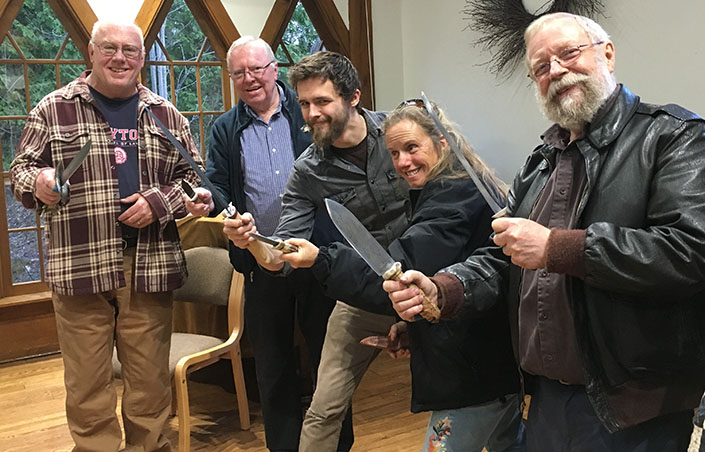
This is our class at the Show and Tell on Friday Night

Another Day's End at The Clearing as the sun sets over Wisconsin across Green Bay.
The work continues on the 2018 page (Click Here)
If you have photos to share please send them to me at
Thanks,
Paul
Photos on this page were from David's and my phones.